How Photographers Can Turn Still Images Into Engaging AI Videos
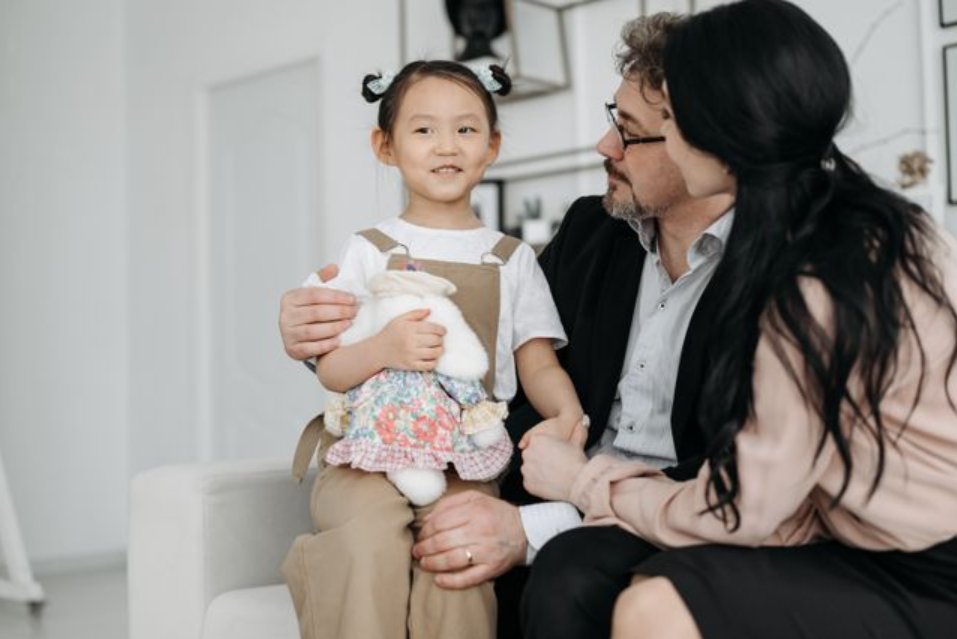
As a photographer, you have visual material that keeps working after a gallery is delivered. A portrait can introduce a portfolio, a product photograph can become a launch clip, and an editorial image can anchor a Reel or campaign teaser.
Image-to-video tools make this possible without asking you to replace photography with a different medium. The photograph still establishes the subject, composition, light, color, and mood. AI adds a controlled layer of motion: a camera push, a shift in atmosphere, a small subject movement, or a reveal through depth.
The most convincing results begin with a clear purpose, a suitable source image, and motion that supports the decisions already present in the photograph. The following steps can help keep the original work recognizable.
1. Start by Defining the Video’s Purpose
A portfolio homepage may only need a quiet loop that adds atmosphere without distracting from navigation. A social post usually benefits from visible movement near the beginning, where it has to earn attention quickly. A product launch may need a controlled reveal, while a client slideshow teaser may work best with subtle depth.
Choose a single destination and objective:
- Introduce a recent portrait session on Instagram
- Add movement to a portfolio homepage
- Turn a product photograph into a campaign teaser
- Create a vertical announcement for seasonal sessions
This decision affects the aspect ratio, pace, movement, and space needed for text. It also prevents one generation from trying to serve several incompatible formats.
2. Choose an Image with a Clear Visual Hierarchy
Image-to-video generation cannot fix every weakness in a source photograph. It works better when the image already has a clear subject, intentional framing, visible depth, and enough separation between important elements.
Look for photographs where it is clear what should remain stable and what could move. A portrait with clear separation between the subject and background may support a slow push-in and gentle movement in the hair or clothing. A product photographed on a clean, uncluttered surface may support a subtle camera orbit. A landscape with foreground, middle ground, and background gives the model useful information for creating parallax.
Be cautious with crowded groups, overlapping hands, small text, logos, and reflective products. These details can change from frame to frame. If product geometry or lettering is essential, keep the movement restrained and inspect the result closely. The best source image is the one whose structure remains easy to read when motion is added.
3. Prepare the Frame for the Final Format
Edit and crop the source image before generating the video. Correct exposure and color, remove distracting elements, and check that the subject still works in the intended aspect ratio.
Vertical framing is practical for Reels, TikTok, and YouTube Shorts. Landscape framing suits portfolio headers, presentations, and wider campaign placements.
Leave room for the movement you plan to request. A camera push can make an already tight portrait feel cramped. If you intend to add text later, preserve negative space instead of asking the model to generate finished typography inside the shot.
Export a clean master without watermarks or graphics. Titles, logos, and captions are easier to control in a conventional editor after the clip is generated.
4. Check Client Permission and Generation Privacy
Before uploading client work, confirm that you have permission to process the image with a third-party AI service. A portfolio release may not cover every type of AI processing, particularly for private events, children, unreleased campaigns, or confidential work.
Privacy settings vary by platform and plan. Before uploading confidential work, confirm whether generations are private, publicly discoverable, retained for a limited period, or subject to additional platform terms. Avoid uploading material when the client’s agreement or intended use is unclear.
Apply the same care to music, voice-over, fonts, logos, and other elements added during editing.
5. Describe Motion Instead of Repeating the Photograph
The uploaded image already tells the model what the scene looks like. A useful image-to-video prompt focuses on what should move, how the camera should behave, and what should remain stable.
A simple prompt structure is:
Camera movement + subject movement + environmental movement + stability instruction
For a portrait, you might write:
Slow camera push toward the subject. She gently glances toward the window as a soft breeze lightly lifts her hair. Soft curtain movement in the background. Keep her facial features, clothing, and the original lighting consistent.
For a product photograph:
Controlled camera orbit from left to right. Subtle highlights travel across the glass while the product remains centered and unchanged. Keep the label, proportions, and background composition stable.
For a landscape:
Slow forward camera movement through the foreground. Grass moves lightly in the wind and clouds drift naturally in the distance. Preserve the original color grade and horizon.
Specific verbs such as push in, pan left, orbit slowly, drift, and remain locked are more useful than broad requests such as “make it cinematic.” They also make it easier to adjust one variable at a time.
6. Begin with Less Movement Than You Think You Need
More motion does not automatically make a still image more engaging. For portraits, architecture, interiors, and commercial product photography, excessive movement can weaken the visual qualities that made the original photograph successful.
Begin with one camera action and one secondary movement. A slow push with natural fabric movement is easier to control than a prompt that asks the subject to walk, turn, smile, change expression, and interact with the environment at the same time.
Subtle movement is particularly helpful when identity and detail matter. Faces, hands, packaging, jewelry, and architectural edges are easier to preserve when the shot does not require a large transformation. More energetic motion can suit fashion, sports, music, or stylized social content, but it should support the destination.
7. Compare Models Using the Same Image and Prompt
Different video models can interpret the same photograph in noticeably different ways. One may preserve a portrait more accurately, while another produces smoother camera movement or a more polished atmosphere. A model that works well for a landscape may not be the best choice for a product label or close-up face.
To compare fairly, keep the source image, prompt, aspect ratio, and approximate duration as consistent as the available controls allow. Change only the model for the first test. Review the outputs side by side, then continue with the one that best protects the most important part of the photograph.
A multi-model workspace such as Epochal makes this comparison easier by allowing photographers to test Veo, Kling, Seedance, Wan, and Grok Imagine within the same image-to-video workflow. Available controls and credit costs are shown for the selected model, making it easier to plan controlled tests before committing to further iterations.
The goal is not to use every available model. A few controlled tests are often enough to identify a useful direction. Save the strongest result as a visual reference for later variations or related shots.
8. Review the Result Like a Photographer
Review the clip with the same attention you would give a final gallery image or commercial retouch.
Watch the clip several times and check:
- Does the subject remain recognizable from beginning to end?
- Do eyes, hands, teeth, jewelry, and clothing stay consistent?
- Does product packaging or lettering change between frames?
- Do straight architectural lines bend or drift?
- Does the camera movement feel physically believable?
- Does the clip still match the color and mood of the source photograph?
- Does the movement still read clearly after social or web compression?
Identify the first moment where a clip breaks. That often shows whether the next attempt needs less motion, a shorter duration, a simpler instruction, or a different model.
Avoid changing the image, prompt, duration, aspect ratio, and model all at once. Controlled iteration makes it easier to understand what improved the result. A more detailed image-to-video workflow guide can help photographers compare frame preservation, camera behavior, iteration speed, and the types of images each model handles best.
9. Finish the Clip in a Video Editor
Treat the generated video as a shot rather than a complete campaign asset. A conventional editor gives you more reliable control over timing, sound, typography, transitions, and delivery.
Trim unstable opening or closing frames and add titles as separate layers. If the selected model generates audio, review the soundtrack separately rather than assuming it is ready for delivery. Otherwise, add licensed music, ambience, or voice-over during editing.
Several short clips can be more effective than one long generation. A seasonal campaign could combine a quiet portrait push-in, an animated detail, and a wider environmental frame while keeping each generation simple.
Export specifically for the intended destination, then check the crop, compression, text size, and opening frame on both phone and desktop screens.
Use Motion to Extend the Value of Photography
Image-to-video works best when it supports the photographer’s original decisions. The source photograph still defines the subject, composition, light, color, and emotional direction; motion adds another way to present it.
Start with one strong photograph and one clear use case. Prepare the frame, describe the movement, compare a few controlled tests, and finish the selected clip with the same care you would apply to any client-facing deliverable.
Not every photograph needs to move. The best candidates are images where motion adds context, atmosphere, or attention without changing what made the original photograph compelling.
Task special requirements
Before publication, please confirm in the task conversation that this article will be published in the official Pixieset Blog editorial section at:
If available, please also provide 1-2 recent sample URLs from placements published through this offer using the same domain, editorial section, and page template.
The article must use the standard official Pixieset Blog article template. It must not be published on a user website, customer gallery, private page, user-controlled subdomain, mypixieset.com page, or user-generated portfolio.
The final page must be publicly accessible and indexable, return HTTP 200, and use a self-referencing canonical URL. It should be included in a relevant existing official Pixieset Blog category, preferably Marketing & Business.
Please keep the two supplied URLs and anchor texts unchanged and retain the link attributes included in the original Adsy placement terms. Minor grammatical and editorial changes are acceptable, but please contact us before making substantial changes to the title, topic, links, or product description.
Please keep the article and its links live in accordance with the retention terms of the original Adsy offer.
If publication in the official blog.pixieset.com editorial section is not available, please decline or cancel the task before publication. Please provide the live URL after publication





Post Comment